23 Dec 2013

Cinnamon buns with cream cheese frosting (cinnabon stylee)


These are from the Hummingbird Bakerys' latest book Home Sweet Home. They are very american style cinnamon buns. Rich and soft and covered with a generous dollop of gooey cream cheese icing which melts on the warm buns. You really can get away with half the icing I had plenty left over-I often find this with Hummingbird recipe-there just too much icing! The buns however went very fast. Although it says makes around 16-that's fairly small ones and it's very easy to eat two! Just saying. You could, I reckon, make these the day before and leave in the fridge and then take them out about three hours before you wanted to bake them for the final rise. Or freeze them before the second rise and then leave them out overnight....Just thinking maybe if you wanted to make them for Christmas morning/tea or something... Full recipe below the pics.

1. Make the dough and let it rise

2. Roll out and dot with butter


3. Sprinkle with cinnamon and sugar


4. Roll up and slice


5. Leave the buns to rise in a warm place


6. Bake until golden and delicious


7. Smother with as much icing as you like and eat!


Recipe:
Makes 16-18 buns
for the dough
300ml lukewarm water
25g caster sugar
1.5 tp dried active yeast
500g strong white bread flour
1 tsp salt
85g unsalted butter

For the filling
80g unsalted butter softened
80g soft dark brown sugar
1.5 tsp ground cinnamon
1 large egg beaten

For the glaze
50g unsalted butter softened,softened
300g icing sugar,sifted
125g full fat cream cheese

one 25 cm or two 20 cm tins/pie dishes.

1. mix milk,sugar and yeast and stir well. leave for 20 mins until mixture becomes frothy
2.sift together flour and salt in a large bowl. Add the butter and rub into dry ingredients to form a crumb like consistency with no large lumps of butter. Make a well in the center of the dry ingredients and pour in the milk and and yeast. Using the spoon, bring the mixture together to form a dough.
3. Turn the dough out onto a lightly floured surface and knead well until soft and smooth. Place the dough back into a large,lightly floured mixing bowl. Cover the bowl with cling film and leave in a warm place to allow the dough to rise for approximately 40 minutes or doubled in size.
4. Once the dough has risen,knock it back in the bowl and turn it out on to a lightly floured surface. Knead it gently to get the dough smooth, then roll it out into a rough triangle, about 1.5cm thick.
5. Gently spread the soft butter evenly over the dough. In a small bowl mix the dark brown sugar and ground cinnamon together. Sprinkle the cinnamon sugar evenly over the dough. Roll the dough up lengthways like a swiss roll. Using a sharp knife cut he roll into 16-18 slices.
6. Line the cake tin with baking parchment or butter the pie dish. Very gently place slices,flattest side down,into the tin, arranging them snugly.   

15 Nov 2013

Cinnamon and cardamom buns


It is SO cinnamon bun season if there ever was one. Especially here in London where it has suddenly turned cold. Just look at them so beautifully snuggled. Sorry no in-process pictures. I have high hopes of trying some more cinnamon buns this weekend from the new Hummingbird book that I got for my Birthday :) . So will try to take some then, you can find very good pictures on the blog that I got the recipe from. I used half the amount of cardamom-a tablespoon seemed a little excessive to me and I thought half a tablespoon worked great. I also put chopped pecans in half the batch. I loved them with out any icing and so did everyone else.They are so comforting to make- its lovely watching the spirals swell up in the oven and the house smells amazing. And while we are on the topic of buns smitten kitchen just did a post on some orange and cranberry ones, very seasonal. 


1 Nov 2013

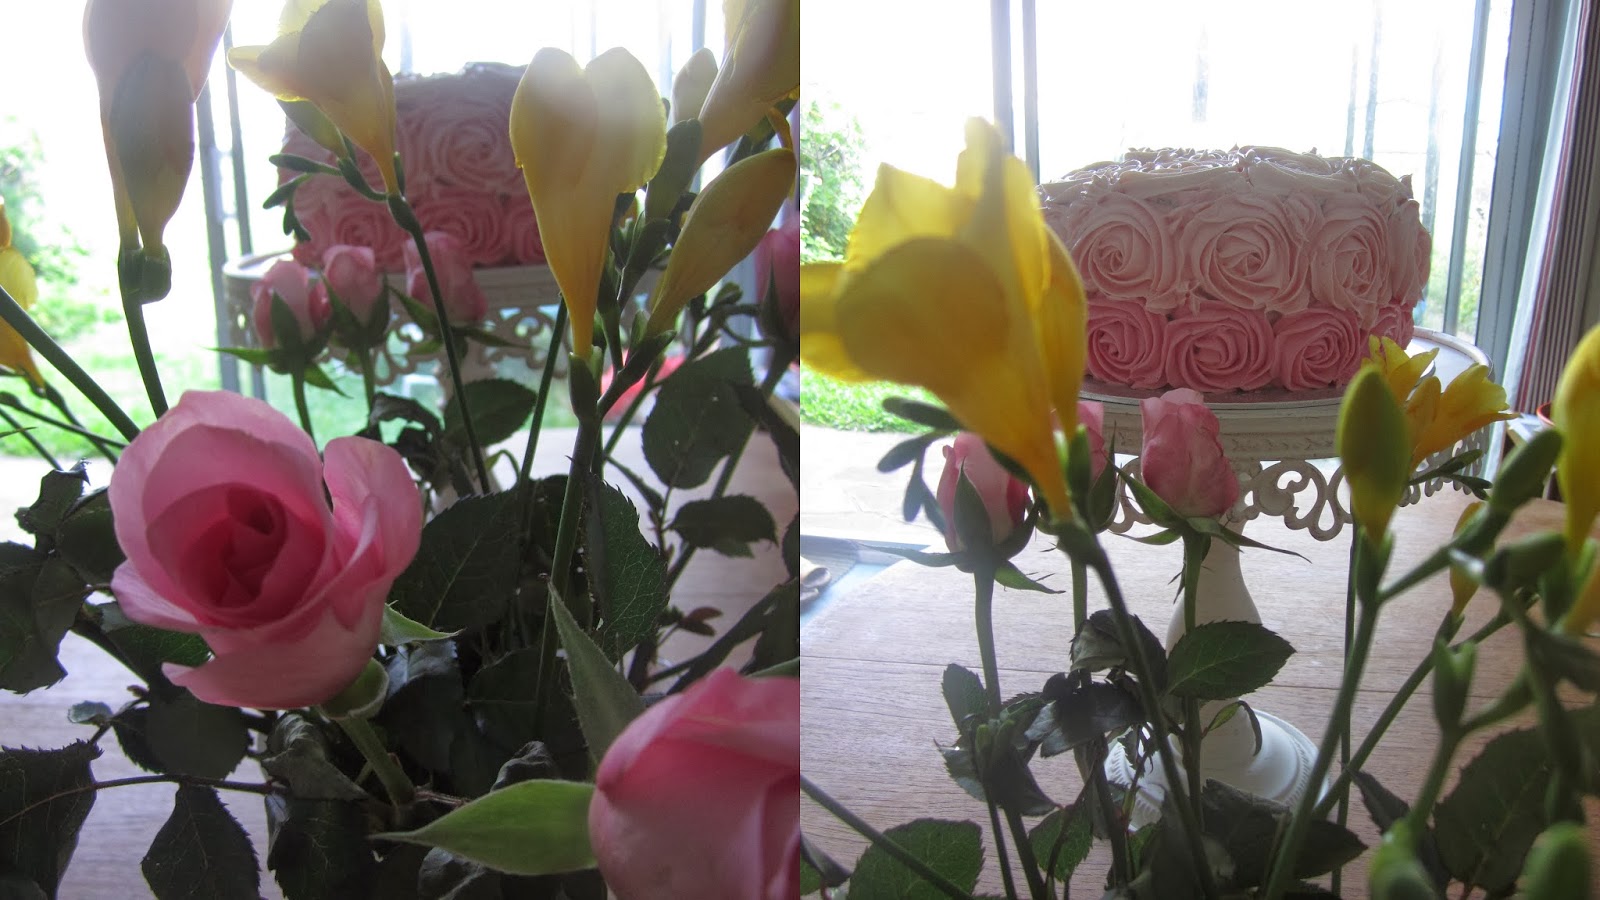
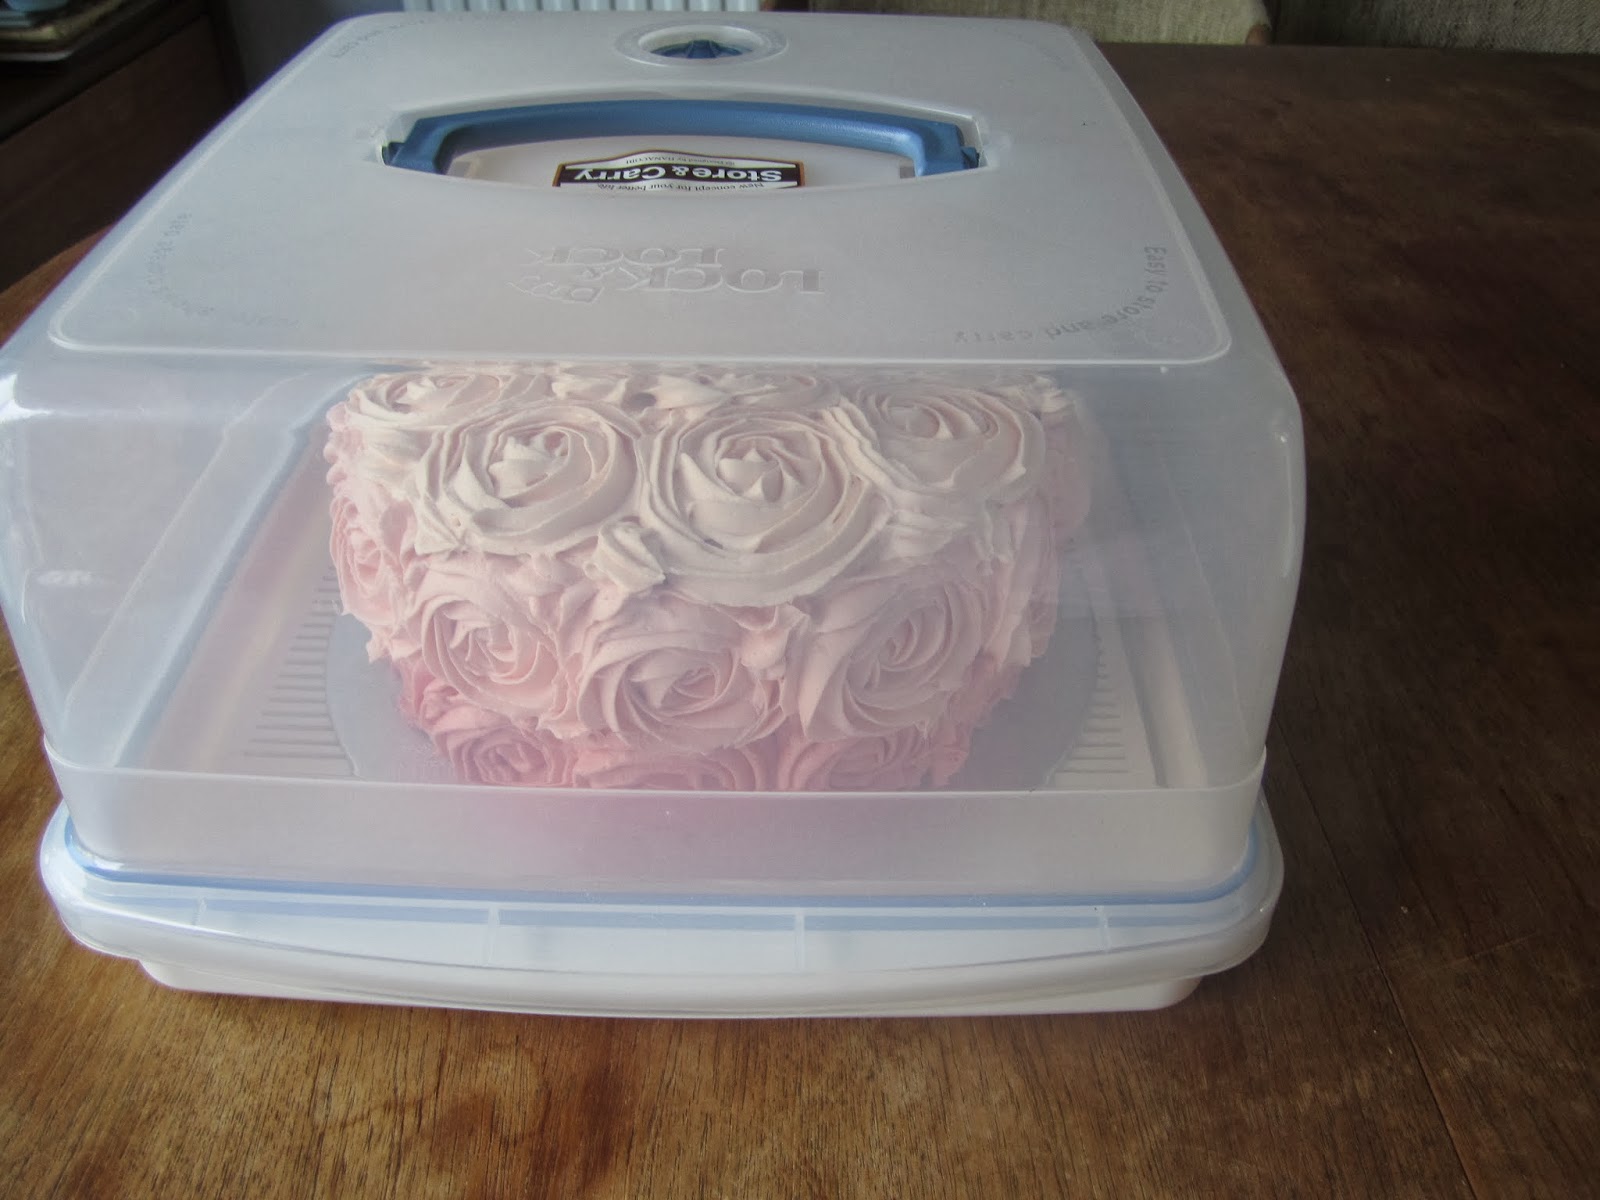
Pink Ombre Rose Cake


I am a little obsessed with ombre cakes at the moment. Pintrest is a veritable treasure trove of inspiration. As are other blogs. This rose cake is really not as hard as it looks-all you need is a few Wilton 1 M tips and some good gel food colourings. I love that it’s simple to do but stunning to look at – and all edible unlike cakes covered in fondant and sugarpaste. Although I think cakes look pretty when covered in fondant and sugar modelled stuff and sugar flowers I prefer cakes to all be edible and I find myself and others just peel sugar decorations off and leave to one side.

So I trawled the internet (as you do) and found some good inspiration on Pintrest and here and here. When piping the roses you can practise on a chopping board or on the actual cake-it’s very easy to scrape a rose off with a spoon if you go wrong. When doing the three different colours you can spread some on a chopping board next to each other to see how they will look. That is probably the most finicky bit of the whole process-separating the icing and colouring it-the actual piping is very quick! It was a really hot summers day when I made this so you can see my roses are very soft-the second time I made this cake (coming soon- a purple ombre one!) it was much cooler so it was easier to pipe the buttercream and I didn’t have to keep putting it in the fridge to firm up!

I used a creamy white chocolate buttercream for the roses on the outside and for the inside it was a standard Victoria sponge and strawberry meringue buttercream. The latter is a buttercream that is slightly harder to make but silky smooth and very yummy! I wanted pink layers when you sliced into it and the fresh strawberries lift the cake a bit. You could alternatively use whipped cream with strawberry puree mixed through or use the same buttercream as on the outside. I used Wilton rose pink gel food colouring to colour the icing. I always start with mixing the darkest color first and then do the two lighter colors  You want the dark pink to be quite dark-otherwise there won’t be a decent enough colour gradation! I crumb coated the cake and put it in the fridge for about half an hour to firm up before doing the roses.

I have written about the Victoria sponge here (I made 1.5 times the recipe as I wanted three layers) and you can find the strawberry meringue recipe here-it is from this Martha Stewart book. The creamy buttercream recipe is below-I make double and always have some left over which I freeze. Better to have more than you need in case you over color one part or something!  


The strawberry meringue buttercream as it progressed-no butter, with butter added and then with strawberry puree added.

The creamy buttercream


Creamy  buttercream

Ingrediants:
1 Cups unsalted butter, softened
2 Cups powdered sugar (or more, depending on how you like your buttercream)
Pinch of salt
2-3 oz. good quality white chocolate, chopped (optional)
¼ Cup  whipping cream
¼ tsp. vanilla extract
Method:
Put the chopped white chocolate into a small bowl.melt over a ban-marie or in microwave. set aside and allow to completely cool.
Sift salt and powdered sugar over the butter, in a large bowl. Cream the butter and sugar mixture together until light and fluffy, scraping the sides of the bowl as needed. Measure the whipping cream into a cup, and stir in the vanilla extract. With the mixer running on low speed, gradually pour the cream mixture the bowl.
Once the cream mixture has been incorporated into the frosting, fold on the melted white chocolate until incorporated. Increase the mixer speed to medium-high, and beat frosting for an additional 3 minutes.

Makes about 2 ½ cups of frosting (I made double for the cake).


11 Oct 2013

Mini pistachio and raspberry meringues


These are one of my favourite recent bakes. They are equally beautiful looking and tasting and they are from one of my favourite books - Jo Wheatley' A passion for baking. The meringues are slightly crisp on the outside when you bite, then you get a bit of chewyness and then they just melt in your mouth.  The recipe is below. I cannot wait to try a hazelnut and dark chocolate version of these... 


 Ingredients:
3 egg whites
1 tbsp lemon juice
30g Pistachios,shelled,unsalted and finely chopped(I did in my mini food processor/chopper thing)
100g white chocolate with freeze dried raspberry pieces(I couldn't find so used white choc and mixed in bought freeze dried raspberries from Sainsburys (in a small tube in baking section)but you can also buy online.
150ml double cream
30 fresh rasberries
30 fresh mint leaves

you will need:baking tray lined with baking parchment, a couple of piping bags -one fitted with a small plain round nozzle and with a star tip.

Preheat oven to 110 degrees celcius/225 Farenheight/gas mark 1/4

whisk egg white in clean bowl to soft peaks, add lemon juice. 
 Gradually fold in sugar,then add nuts by folding in using a large metal spoon.

spoon into piping bag, and pipe little nests on to the prepared baking tray, about 3 cm wide and 3 cm high.

Bake for about 1 hour until dry and crisp. Turn oven off and leave meringues to cool inside

Melt chocolate, add freeze dried raspberry pieces and brush/spoon onto meringues, the leave to set. whip cream into soft peaks and pipe swirls on to meringues. (I ran out of cream for the last few probably cos I piped too much on the first few so would use 200ml next time)

top each meringue with raspberry and mint leaf.       


7 Oct 2013

Churros with chocolate dipping sauce


These are simple Spanish doughnuts which are very popular in London at the moment. The recipe is from Nigellas Kitchen. I'm sure you an tell by now that it is one of my favourite books. They are great to make for tea when you have people over. You can't really go wrong with fried dough rolled in cinnamon and sugar and then dipped in a thick chocolate sauce. Recipe is here. I made an edit to the chocolate sauce I used 50g dark chocolate instead of 100g as I often find Nigellas recipes have too much dark chocolate for me.These are JUST enough for four people ie. you are unlikely to have any leftovers!  Note: the second time I made these the batter went very liquidy after I added the water as I added it all in one go - so I would add it gradually as you want a thick sticky dough that is pipeable. I just used two tablepoons instead of a piping bag as you can see in the pics to make fat little ones which take a little longer to fry than thin spindly ones. I don't do the cube of bread test to see f the oil is hot enough -just drop a bit of batter in to see if it sizzles up. I would lower the the temp as soon as you put the doughnuts in as you don't want them to brown on the outside and not cook through in the middle.  When frying I always test one before I take them all out to see if cooked through in the middle.  


24 Sept 2013

Jalapeno and cheese muffins


You know you want to try these from the their name right? the jalapenos and cheese combo is a bit like the peanut butter and chocolate combo...you can't really go wrong. These are like cheese rolls punctuated with a tangy chilly hit. I definitely needed more Jalapenos than the recipe specified- I would double up next time. You could do any number of things with these-put some tomato chutney in the middle, put some cream cheese with jalapenos/mustard stirred through it in the middle...you get the idea...They are from the lovely blog of Joy the Baker. She has much better pics on her post so check it out.


17 Sept 2013

THE best carrot and pecan cake


I have tried many a carrot cake in my time and this really is my favourite so far. It is from Jo Wheatlys' "A Passion for Baking"It is my favourite baking book- a real home bakers book. I have already made lots of things from it already and have so many things earmarked! I found the recipe already typed up here. The cake is super moist with just the right amount of pecans. I loved the icing-I thought had the right amount of tang and I thought the amount of icing was right too, but I like a fair bit off icing on my cakes! It might be a lot for some people so if you don't like as much icing you could probably get away with 2/3 rds the amount I would say. The tang is from orange juice,so go easy when squeezing the juice-add gradually and check consistency and taste as you go. I made this traybake for the cake table at our summer street party this summer which was amazing. We had it on a beautiful sunny day in June (not always a given in London) and it was my sons first street party so very special indeed. I also made some pistachio and raspberry meringues which you can see in the cake table shot (post on those coming soon). And that is my son in the last shot driving happily down the street :)